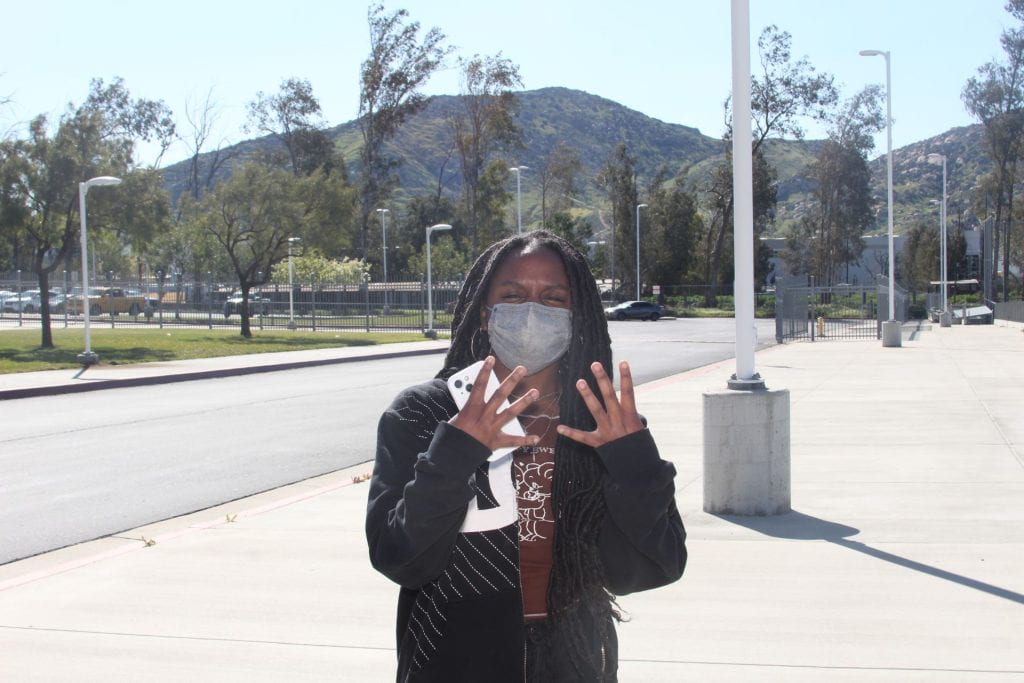
Fill flash outside is a technique used in photography to balance the exposure of a subject and its background in outdoor lighting conditions. When taking photographs outside, the light source is often behind the subject, causing the subject’s face to be underexposed and appear dark. Fill flash is used to add light to the subject’s face and bring it up to the same level of brightness as the background. This technique can help achieve a more balanced and natural-looking photo. By using fill flash, the photographer can capture a well-exposed subject and background, without overexposing or underexposing either. It’s particularly useful in portrait photography or when capturing subjects against bright or backlit backgrounds, such as sunsets or landscapes. Overall, fill flash outside is an essential tool for photographers to have in their toolkit to achieve perfect exposure in challenging lighting conditions.
Category: Uncategorized
Alphabet photography
- Exposure: The amount of light that passes through the camera and influences how bright the image is is referred to as exposure. Overexposure or underexposure can occur from faulty exposure, whereas proper exposure can produce a balanced and aesthetically acceptable image.
- The depth of field: the range of distances that look in sharp focus in a photograph, is referred to as. You can produce pictures with different sharpness levels by controlling the depth of field.
- Lighting: Using both natural and artificial light to achieve a specific mood or effect is essential for taking beautiful pictures. You may produce photographs that are more captivating by understanding the contrasts between various forms of light, such as soft and strong light.
- Photoshop: a piece of software used for digital picture editing and manipulation. It enables you to edit pictures.
- Lightroom: software to arrange, edit, and share digital images. It provides a selection of tools and presets that make it simple for photographers to improve the hues, lighting, and overall appearance of their photographs.
My Favorite Teacher

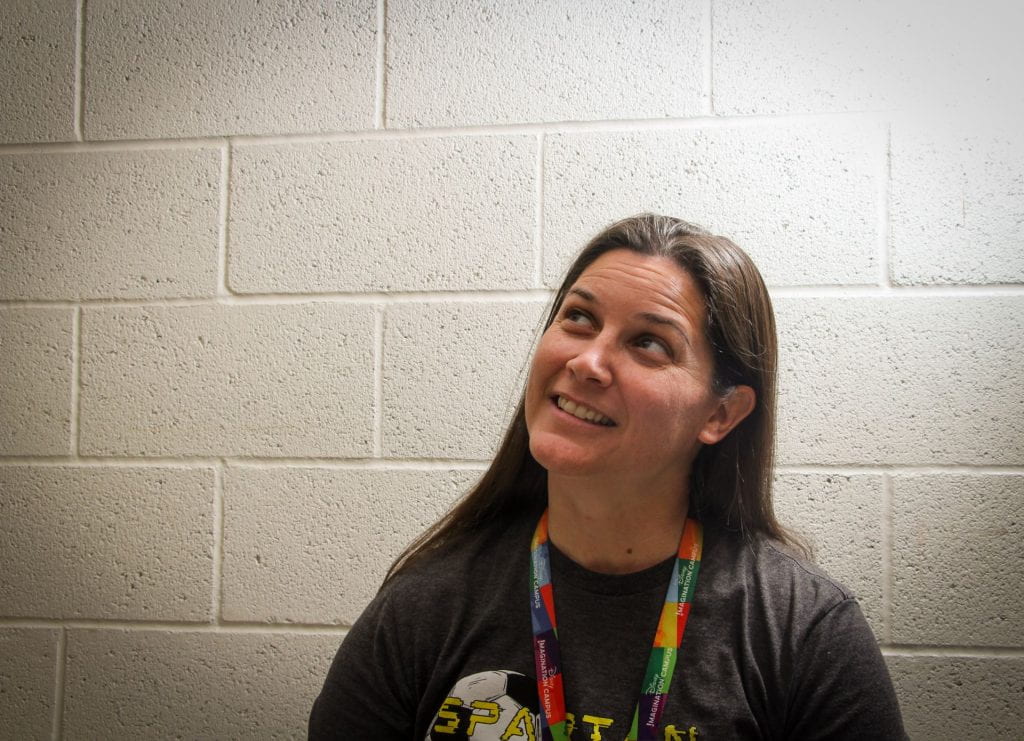
For this assignment I decided to chose Ms. Santiago. The reason I chose her was because she is a great teacher and has been helping get ready for college. She was a fun teacher to talk to and she lets us play games in her classroom during lunch and during class.
Portrait with Makeup


- Familiarize yourself with the different brushes: a wide range of brushes, each with their own unique characteristics.
- Use layer masks to create non-destructive edits: When painting in Photoshop, it’s important to work non-destructively, so that you can make changes without losing your original work.
- Customize your brush presets: Photoshop allows you to create and save your own brush presets, so that you can easily access your favorite brushes in the future.
- Use the Smudge Tool for blending: You can adjust the strength and size of the Smudge Tool to achieve the desired effect.
- Experiment with different painting modes: Photoshop offers several different painting modes, such as Normal, Overlay, Multiply, and Screen.
Put yourself in history

Shakira was the person I decided decided to pick. I started listening to her because my mother used to play her music when I was younger, and now I do the same. Shakira has made significant contributions to Latin music, and she has influenced the genre in a variety of ways. Her unique style, global impact, and activism have elevated her to legendary status both within and outside of the Latin music community.
HDR Photography: Waves

I called this photo “Waves”. I think I did okay editing this picture. I tried my best getting the same color of the sky from the original photo to the picture of the clouds. I picked these clouds because I thought they look cool and reminded me of the famous painting “The Great Wave Off Kanagawa”. I thought this would be different and unique to put instead of normal clouds. I turned up the saturation on the picture to give it more “life”. I also like how a bit of the clouds from the original photo are in and match with the clouds I added. It was a bit difficult to edit since I had to make sure the picture was stretched out. I think did alright but I know that I can do better.
INTRODUCTION TO USING STROBES
For photographers, videographers, and filmmakers to manage the quality and direction of light in a controlled environment, studio lighting equipment is crucial. Studio lighting’s main objective is to provide a subject with illumination that is both visually beautiful and useful. Studio lighting equipment comes in a variety of forms, each with its own special qualities and purposes. Continuous lighting, strobe lighting, and LED lighting are the three most used types of studio lighting.
Lights that are constantly on and offer a steady supply of light are referred to as continuous illumination. Because they let the photographer to see exactly how the illumination will appear in the final shot, these lights are excellent for still photography and filmmaking. On the other side, strobe lighting uses brief bursts of light to stop time and produce spectacular pictures. High-speed and fashion photography both frequently employ these lights. A more recent technology that produces brilliant, effective, and long-lasting light is LED lighting. They are becoming more and more common because of their low power requirements, adaptability, and affordability. Studio lighting equipment can be used in conjunction with various light modifiers, such as soft boxes, umbrellas, and reflectors, to achieve a variety of creative and professional results.
Gel lights
From the photography, I think the person posing a giving off a strong and fierce person. The makeup matching the color of red in the background helps prove that point. I think the photographer used a redish/pinkish, light to give off the color and around a 3.0. They probably used another light in front of her face to get the side light. The exposure on her face is low showing more of the light.
50 pictures
Differences of Lightroom and Photoshop:
- Lightroom has more editing options for pictures (color, filter, etc.)
- Photoshop allows you to control/manipulate the image (get rid of things and add things)
- Lightroom allows you to rate the images and keep them in a section.
Similarities of Lightroom and Photoshop:
- They both have the brush setting allowing you to edit/blur things out of the image.
- Both software’s allow you to change parts of the image
- Both allow you to edit with different colors.


